Deferred Toon Shading And Sobel Edge Detection In Unity
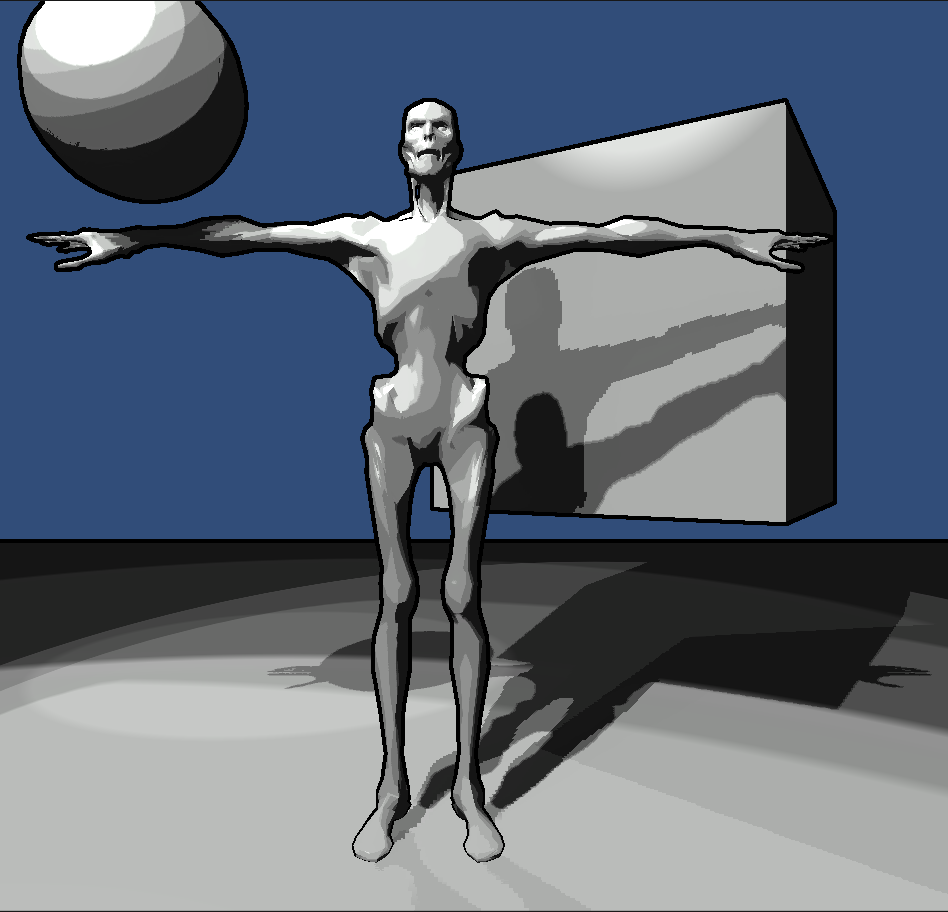 |
| Final Result |
Deferred Rendering Comes With An Artistic Cost.
Unity comes with a deferred rendering option that comes with a lot of perks. The biggest being...
- More than one light source can cast shadows.
- Spotlights and point lights can also cast shadows now.
- General efficiency in rendering scenes.
However, due to the way deferred works you can only apply one lighting algorithm to all the deferred rendered objects in your scene. You can still use more than one lighting algorithm but those objects will be forward rendered.
Unfortunately Unity doesn't give you an easy way to change the deferred lighting algorithm it's using. Below I'll show you the steps you need to create a simple deferred toon renderer in Unity.
Custom Deferred Toon Shading in Unity
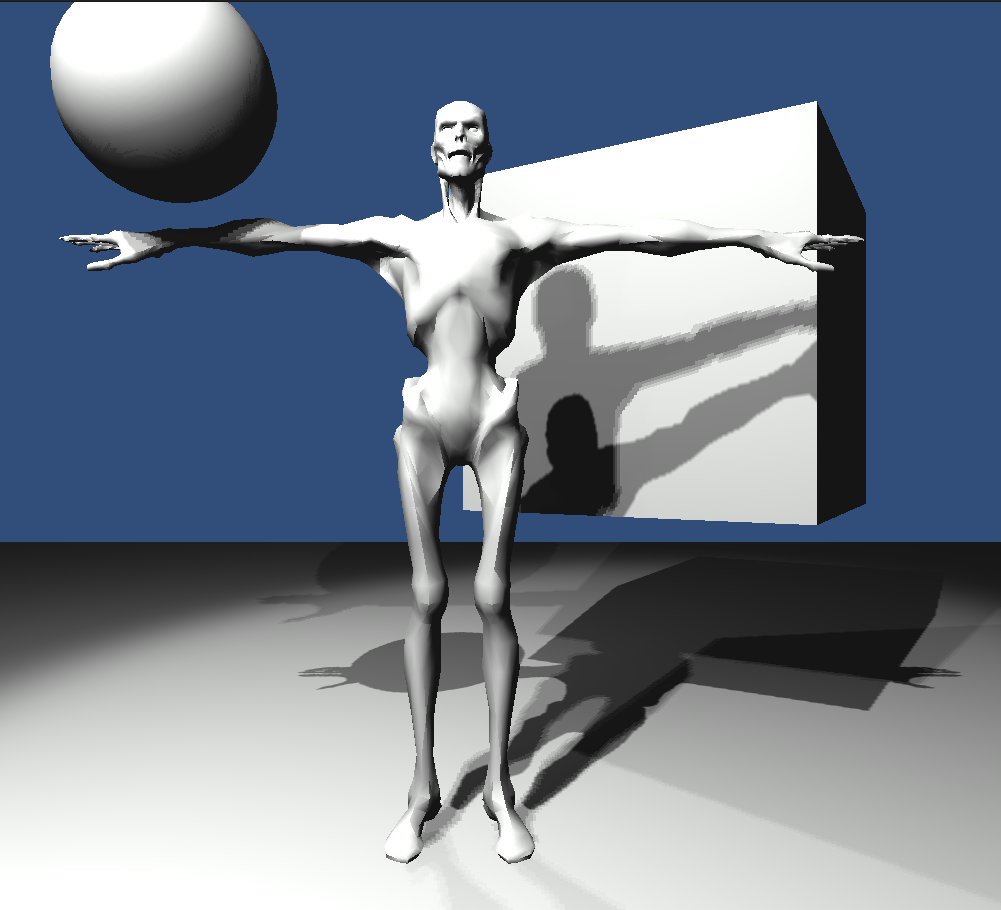 |
| No Toon Shading or Outlines |
- Download Unity's built in shaders that corresponds with YOUR version of Unity. Having the correct version is very important or else you might get errors when you try to compile.
- Under the DefaultResources folder drag and drop the 'Internal-PrePassLighting.shader' file into your Unity project's Resources (make one if you don't have one) folder and restart Unity. It's important to place it in your resource folder or else it won't be there when you try to build.
- Open up Internal-PrePassLighting.shader and edit the CalculateLight function to use whatever lighting algorithm you want. In my case I made two changes. I added the following property.
_LightRamp("_LightRamp",2D) = "" {}
- Removed this Line inside of the CalculateLight function (it calculates the diffuse lighting).
res.xyz = _LightColor.rgb * (diff * atten);
and replace it with res.xyz = _LightColor.rgb * tex2D(_LightRamp,half2(diff*atten,.5)).rgb;
- That's it. Save and you're done with the Internal-PrePassLighting.shader file.
At this point you'll see all white since your not using a ramp.
I used the following.
There is some white at the end.
Import a ramp texture into unity. Make sure to go to texture properties and do the following.
- Set the texture type to 'Advanced'.
- Uncheck mip mapping.
- Set the wrap mode to clamp.
Finally just drag and drop the ramp texture into your Internal-PrePassLighting.shader file's default _LightRamp texture property and apply. You can also do this with Shader.SetGlobal() function.
Borderlands Type Post Process For Outlines
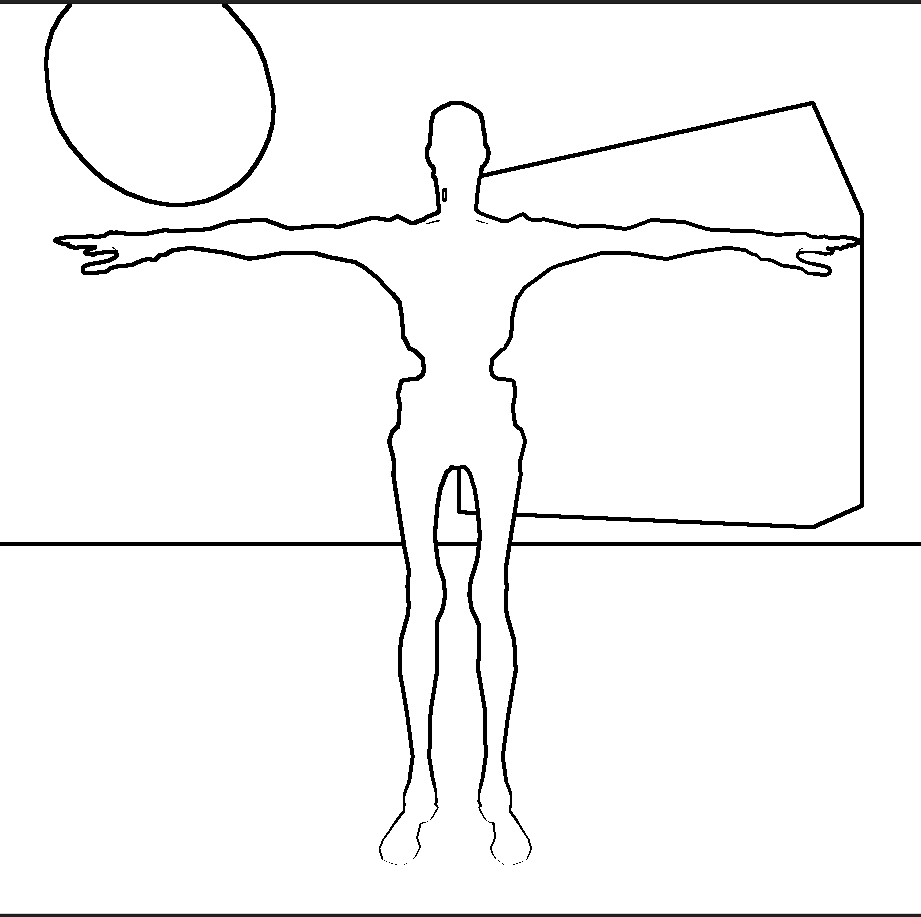 |
| Outlines created by the Sobel post process effect |
 |
| No Outlines |
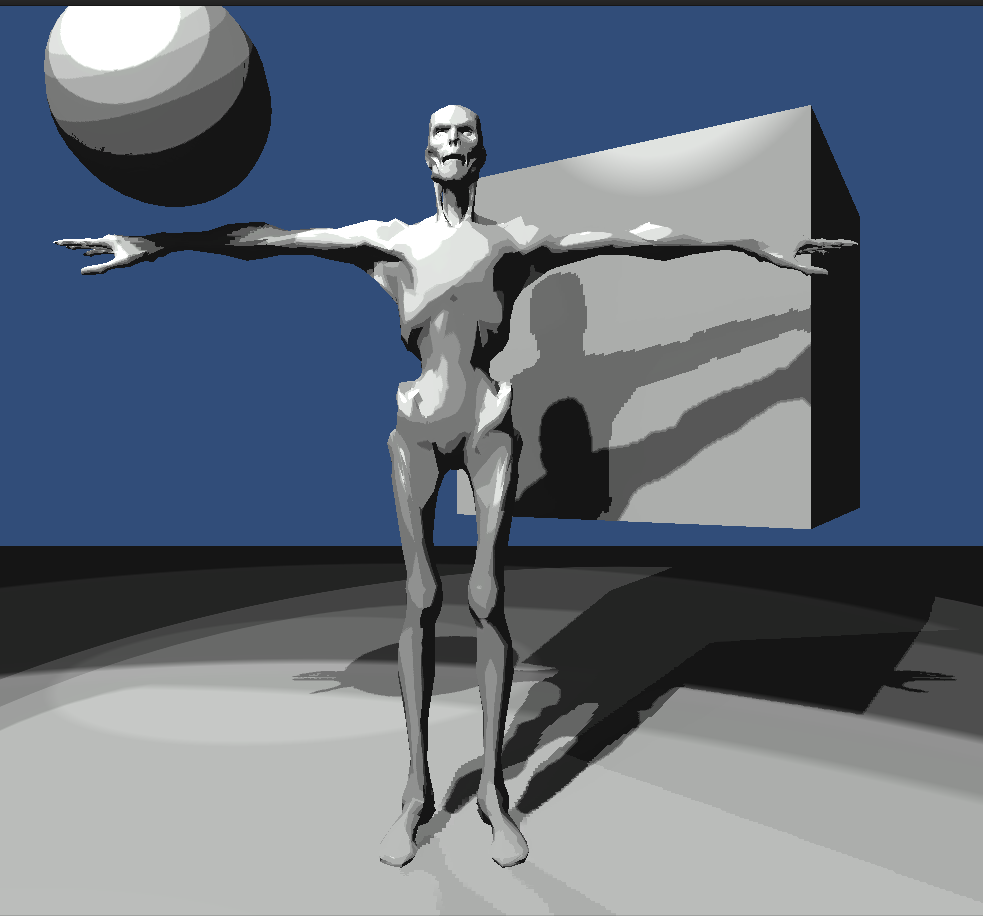
 |
| Final Composite. |
UDK has a great (and lengthy) tutorial on creating a Sobel Edge Detection Shader on their
website. I basically just followed their tutorial but made it work in Unity. You can download the package
here and take a look. To use it just select your camera. Under the menus select Component/Image Effects/Sobel. You'll probably then need to customize the values used.

Hey, I keep getting the 'Undeclared Identifier "_LightRamp" error" everytime I try to compile this. I added _LightRamp to the property section in the shader, do you have any idea what's wrong?
ReplyDeleteHello, What version of Unity are you using? You probably have a very minor syntax issue somewhere.
ReplyDeleteThis comment has been removed by the author.
ReplyDeleteHello! Your download is missing. Would love to take a look at your project if possible.
ReplyDeleteHello, Sorry but I accidentally deleted that download and lost the project. =X.
DeleteDarn - Looks so cool!
DeleteNice job on this, it was very helpful. by the way if you decide to modify the Internal-PrePassLighting.shader don't forget to add "sampler2D _LightRamp;" before the calculatelight function.
ReplyDelete